Table of Contents
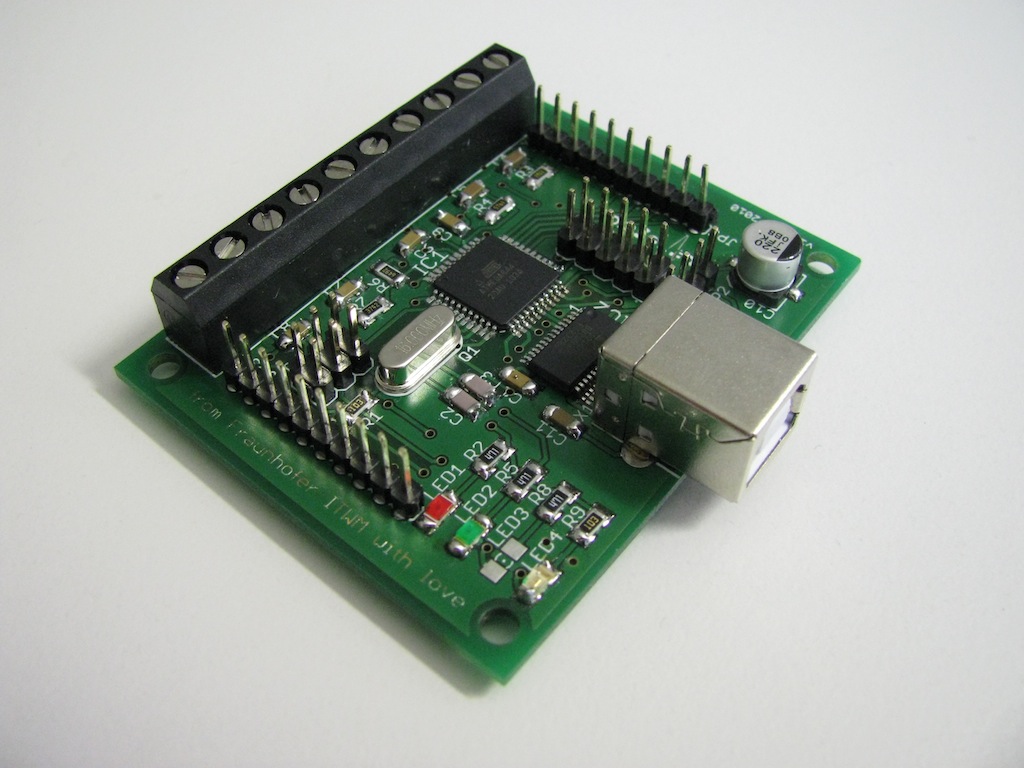
The Flukso USB development board is a small PCB, intended for development work. It reproduces all features of the Flukso sensor board, but has an FTDI USB-serial chip. It can be connected to any USB port.
If you want to use a current clamp with the board: We use an J&D Electronics Split Core Transducer (50 A - 0-5V), Model no. JC10F50-V.
The software port and hardware reference is on github: https://github.com/comsound/flukso. You can clone a local copy of the repository using
git clone https://github.com/comsound/flukso.git
Features
- ATMega644 microcontroller: JTAG, ISP & all relevant other ports are accessible via pinheaders
- FTDI FT232RL usb-serial converter
- USB connection
- 16 MHz crystal
Building the hardware
You need to be able to solder SMD components, I am using the “solder wick” method here (google is your friend). The components are fairly easy to mount. Start with the FTDI and ATMega644 components, then continue with the resistors and capacitors, then the crystal and the large cap, finally install pinheaders and the USB connector.
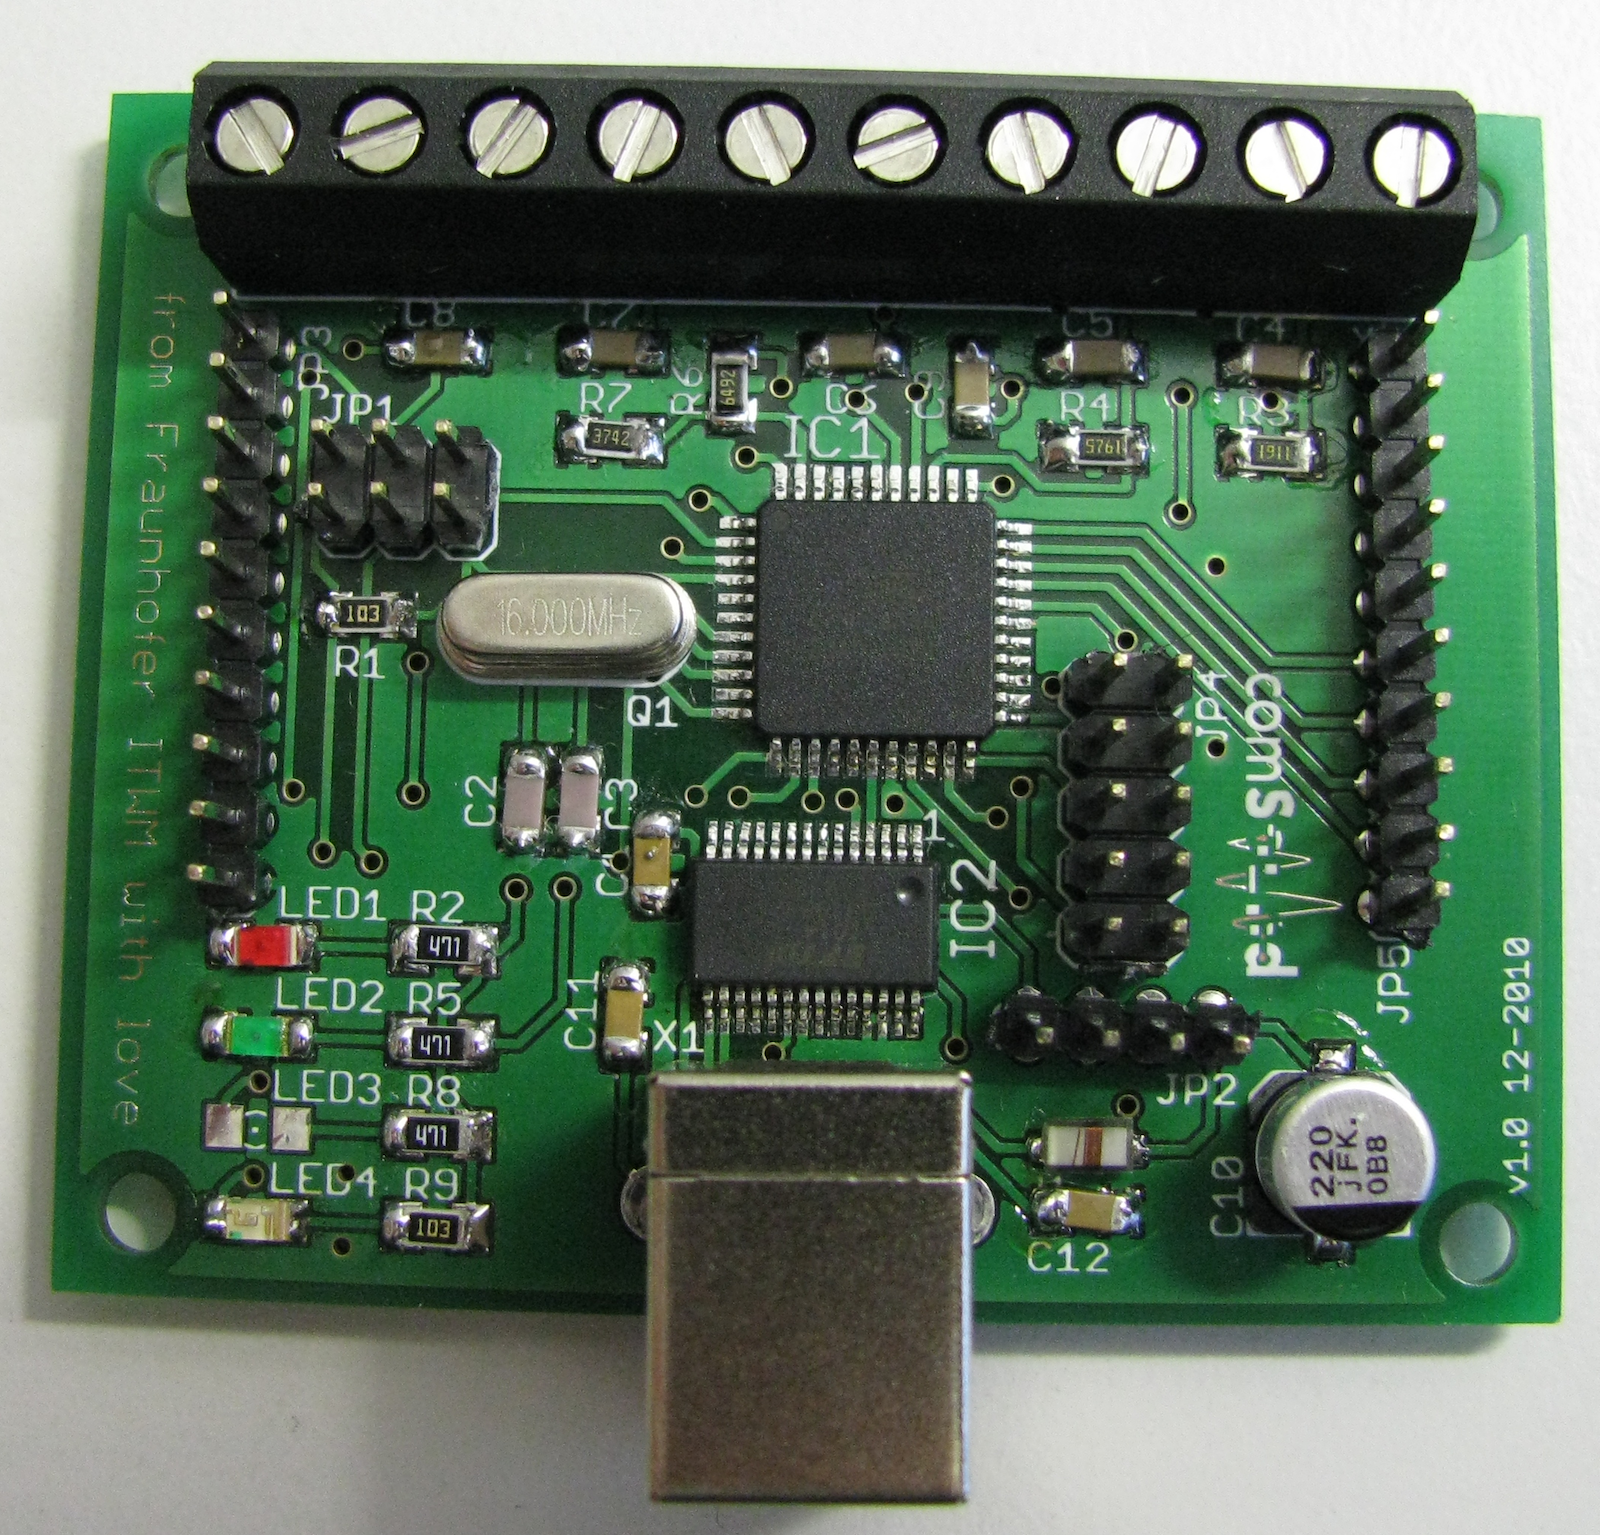
The layout of the board is fairly simple:
Please be careful regarding the orientation of the LEDs, the GND side is on the left in the picture above. See also.
A highres image for your reference: (yes, I know, the yellow LED is missing in action.)
Installing the firmware
The repository contains a folder “software” with an adjusted version of the Flukso firmware for this board. Mainly, the clock speed has been changed and additional adjustments to accomodate the ATMega644, since the original Flukso sensor boards are using an ATMega48.
The firmware can be built by typing “make”. Please note that you might need to adjust the path to your AVR-GCC installation. The “make upload” target programs the ATMega, including setting the fuses (which needs to be done only once - the Makefile can be adjusted).
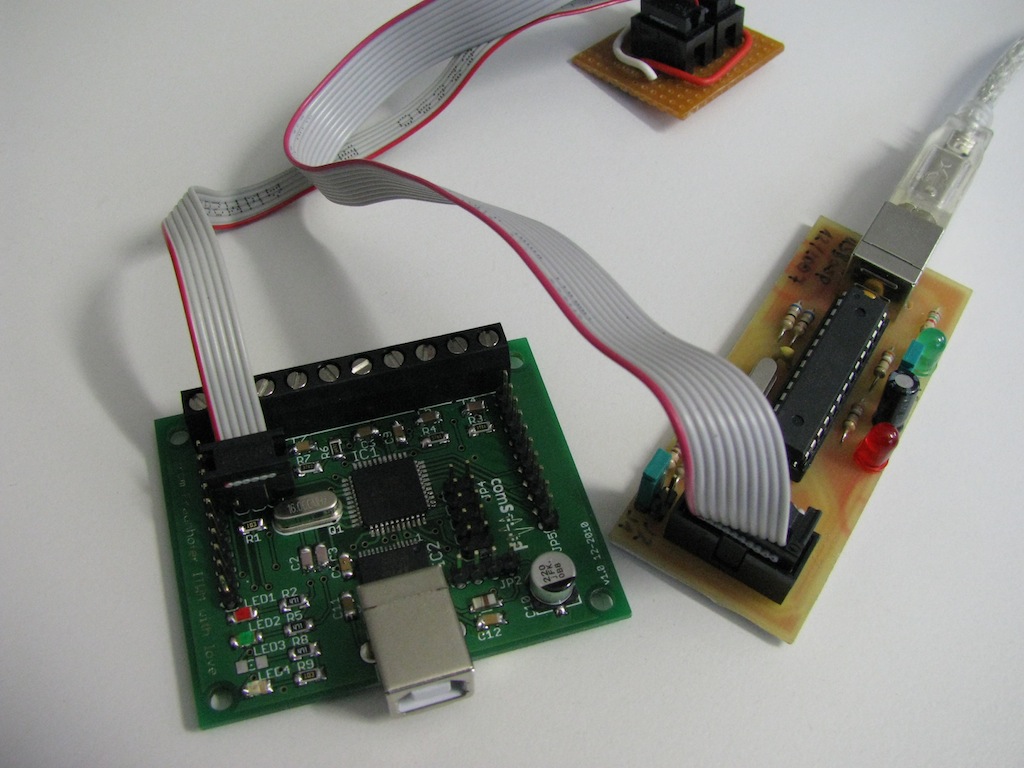
I use an USBasp programmer which I highly recommend. Since the fuses are not set initially, you need to set the SCK jumper (or use avrdude's -B 3 option). I also power the board over the programmer during programming. Please note the orientation of the 6pin ISP header:
If everything went well, you should be able to see something like this on a serial console (via the USB port):
$ screen /dev/cu.usbserial-A800ftEn 4800
pwr 0123456789abcdef0123456789abcde0:0000000000
pwr 0123456789abcdef0123456789abcde1:0000000000
pwr 0123456789abcdef0123456789abcde0:0000000000
pwr 0123456789abcdef0123456789abcde1:0000000000
Each second, a new pair of lines should appear - even without an attached sensor.
Congratulations, and happy hacking!
More hints
What are the LEDs for?
- red: operation
- blue: tx for FTDI
- yellow: rx for FTDI
- green: signal an incoming S0 pluse or “writing to eeprom has finished” (see remark in source)
What inputs are there?
- INPUT0: analog input for one split core transducer mentioned above
- INPUT1: analog input for three split core transducers in series
- INPUT2 + INPUT3 + INPUT4: S0 inputs
What about a case?
- The board fits nice into a TEKO A2 case, cutouts for the conectors can be made by cutting two slots into the cover on each side, then the remaining metal is bend to the inner, leaving a stable structure.


